Pre-purchase building inspection: what to expect and how to prepare
You've found a house you love. The numbers work, the location works, the vendor is motivated. Now your conveyancer, your mortgage broker, your dad, and every property forum on the internet is telling you to "get a building inspection." Of course you should. Everyone does. But what does that actually involve, what should you expect, and how do you make sure you get value out of the few hundred dollars you're about to spend?
This guide walks through the whole process, from booking to receiving the report, with a particular focus on the things first home buyers most often get wrong. By the end you'll know when to book, how to choose an inspector, what to expect on the day, what the report should look like, and what to do with whatever it finds.
What a pre-purchase building inspection actually is
A pre-purchase building inspection is a visual, non-invasive assessment of a residential property's condition, carried out by a qualified inspector before settlement. In Australia it follows Australian Standard AS 4349.1, which sets out exactly what is and isn't included.
What it is:
- A visual inspection of readily accessible areas inside and outside the property
- A written report identifying major defects, safety issues, and areas needing further investigation
- A snapshot of the property's condition on the day of inspection
What it isn't:
- A valuation. It tells you about condition, not market value
- A compliance certificate for building work, electrical, plumbing, or pool fencing
- A specialist engineering, pest, asbestos, or strata report
- A warranty or guarantee that no problems exist
- A pass or fail document
The standard exists because property buyers needed a consistent, comparable product across thousands of inspectors. AS 4349.1 means the report you get from an inspector in Brisbane uses the same definitions and structure as one from an inspector in Hobart. That's the upside. The downside is that scope limitations are baked into the standard, which is why understanding what the inspector did and didn't assess is so important. We covered this trade-off in detail in our guide to what to do when an inspector misses something.
Building inspection vs. building and pest inspection
A standard building inspection (AS 4349.1) is structural and condition-focused. It will note visible signs of pest damage, such as mud tunnels or rotten timber, but the inspector is not commissioned or required to identify pest species, assess activity, or recommend treatment.
A pest inspection (AS 4349.3) is a separate assessment focused specifically on timber pests, primarily termites, borers, and wood decay fungi. It is sometimes done by the same inspector as part of a combined service, sometimes by a separate licensed pest controller.
Most buyers in Australia commission both, usually as a combined building and pest inspection. The combined cost is typically lower than booking the two separately, and the report is delivered as one document. If you're buying in a high-termite-risk area (most of the eastern seaboard, much of WA, and most of Queensland and the Northern Territory), the pest component is non-negotiable.
For a more detailed cost breakdown by state and property type, see our guide to building and pest inspection costs in Australia.
What an inspector checks during a pre-purchase building inspection
A pre-purchase building inspection under AS 4349.1 is a top-to-bottom visual sweep of every accessible part of the property. While exact scope varies slightly between inspectors, the standard sets a common baseline. Expect your inspector to look at the following areas.
Roof exterior and gutters. Roof covering condition, ridge capping, flashings, gutters, downpipes, eaves, fascias, and any chimneys or skylights. Where the roof is safe and dry to access.
Roof cavity. Insulation, structural timbers, signs of leaks or staining, condition of wiring runs (visual only, not an electrical compliance assessment), and any signs of pest activity, accessed through the manhole.
Exterior walls and cladding. Brickwork, render, weatherboards, fibre cement sheeting, or other cladding. Cracks, movement, render failure, paintwork, weep holes, and the condition of joins.
Windows, doors, and trim. Frames, sashes, sills, seals, hardware, fly screens, and operation. Internal and external.
Subfloor. Where there is safe access through a subfloor hatch. Bearers, joists, stumps or piers, ventilation, moisture, and signs of pest damage.
Foundations and ground levels. Visible signs of subsidence, drainage issues, soil levels against the slab or weep holes, retaining walls, and external paving.
Interior, room by room. Ceilings, walls, floors, internal doors, joinery, skirting boards, cornices, and any built-ins. Inspectors run their hands across walls feeling for damp, sight-check lines for movement, and photograph anything that warrants flagging.
Wet areas. Bathrooms, kitchens, and laundry. Visible water staining, condition of grout and silicone, fixture function (taps run, toilets flush, drains clear), and signs of leaks. This is condition reporting only, not a plumbing compliance check.
Site, outbuildings, and structures. Driveways, paths, decks, pergolas, retaining walls, fences, sheds, carports, garages, and pool surrounds. Pool fence compliance is specifically excluded under the standard unless it is commissioned separately.
The inspector won't move furniture, lift carpet, cut into walls, or test things that the standard explicitly excludes (electrical compliance, gas, plumbing pressure, pool certification, asbestos sampling, structural engineering opinions). If any of those matter to you, ask about commissioning a separate specialist alongside the pre-purchase building inspection.
When to book the inspection
Timing matters more than buyers expect. There are three common scenarios.
Before the offer (some states only). In Victoria and South Australia it's possible, with vendor agreement, to inspect a property before making an offer. This is the cleanest path because you go in with full information and there's no time pressure. It works best for private treaty sales of properties that have been on the market for a while. It rarely works at auction.
During the cooling-off or condition period. This is the most common path. In Victoria you have a three-business-day cooling-off period after signing on most private treaty sales (not auctions). In Queensland the standard contract includes a building and pest condition with a deadline, often 7 to 14 days. In WA, similar conditions can be added by your conveyancer. The inspection is booked as soon as the contract is signed and the report needs to come back inside the deadline.
Before exchange (NSW pattern). In NSW the convention is to inspect before exchange. You make an offer, the vendor accepts in principle, and you do the inspection (and conveyancing review) before signing the contract. There's no contractual building and pest condition to fall back on, so the decision is made before you commit.
In every state, the practical advice is the same: book the inspection the day you have a deal, not later. Inspectors get booked out three to four days in advance, and the longer you wait, the closer you cut to your deadline.
How long does a pre-purchase building inspection take?
Most pre-purchase building inspections take 2 to 3 hours on site for a typical suburban house. Smaller properties and apartments can be done in 1.5 to 2 hours. Larger homes, complex sites, or older properties with multiple outbuildings can stretch to 4 or even 5 hours.
The written report usually lands in your inbox within 24 to 48 hours, sometimes the same evening. Combined building and pest inspections take a little longer because the pest component runs alongside the structural assessment.
A few timing flags worth watching for:
- An inspector quoting under 90 minutes on site for a normal house is likely cutting corners. The standard takes time to do properly.
- An inspector who promises to deliver the written report inside an hour of finishing on site is either templating heavily or skipping the photo annotation step. Either way it is a flag.
- If you have booked a combined building and pest service, expect closer to 3 to 4 hours on site.
If you can, plan to arrive at the property in the last 30 minutes of the inspection. By then the inspector has done the bulk of the work and can walk you around in person before you read the written version a day or two later.
Pre-purchase apartment inspections: what's different
A pre-purchase apartment inspection still falls under AS 4349.1, but the scope and emphasis shift compared to a freestanding house. You are inspecting one lot inside a larger strata-titled building, and many of the systems that matter most for an apartment buyer live outside your lot.
What sits inside your inspector's scope (the lot itself):
- All internal rooms, ceilings, walls, floors, and finishes
- Internal doors, windows, and joinery
- Wet areas, kitchen, bathrooms, laundry, visible condition and fixture function
- Balconies, balustrades, and decks attached to your lot
- Air-conditioning units installed on your title
- Any private storage cage if accessible
What sits outside scope (common property and strata-managed):
- Building façade, roof, foundations, and structural integrity of the building
- Lifts, common stairs, lobbies, and corridors
- Common-area plumbing risers, gas, fire systems, and electrical mains
- Basement carparks, common gardens, pool, and gym facilities
- Building waterproofing, especially at roof, planter boxes, and inter-unit slab junctions
For these external matters, a strata report (separate to AS 4349.1) is the document you want. It reviews the owners corporation records: special levies, planned works, recent insurance claims, building defects history, sinking fund balance, and any litigation. Most apartment buyers commission both, a pre-purchase building inspection of the lot, and a strata report of the building.
The other thing to ask your inspector to look hard at: water damage. Apartments are far more likely than houses to have moisture issues in wet areas, around shower bases, and on balconies. Make sure your inspector flags any sign of historic water staining, even where it looks superficial. It often points to a waterproofing failure that the building manager hasn't disclosed.
Pre-sale building inspection vs. pre-purchase building inspection
The two terms describe the same kind of inspection from opposite sides of the deal.
A pre-purchase building inspection is commissioned by the buyer, before settlement. It is paid for by the buyer, and the report belongs to the buyer. The inspector is independent of the vendor and the buyer is the client.
A pre-sale building inspection (sometimes called a vendor's inspection) is commissioned by the seller before the property goes to market. The report is intended to surface issues early so the seller can either rectify them or factor them into the asking price. It is sometimes made available to interested buyers.
If a pre-sale inspection report exists, should you rely on it? With caveats:
- The inspector is the seller's appointment, not yours. Even reputable inspectors are subtly oriented to the client who pays them.
- The report reflects the condition on the day of that inspection. By the time you see it, weeks or months may have passed.
- You don't get to attend, ask questions during the inspection, or direct the inspector's focus.
- Items the inspector flagged "for further investigation" may or may not have been investigated since.
In practice, treat a pre-sale building inspection report as useful context, not as a substitute for your own pre-purchase building inspection. If you are buying a property where a vendor's report is on offer, read it carefully, then commission your own. The cost is small relative to the purchase price, and the independence is worth it.
How to find and choose an inspector
Not all inspectors are equal. The cheapest inspector is rarely the right inspector. Here's a sensible filter.
Look for membership of an industry body. The Australian Institute of Building Inspectors (AIBI), Master Builders Association (MBA), or Housing Industry Association (HIA) are the most common. Membership signals minimum training, ongoing professional development, and a code of conduct.
Confirm professional indemnity insurance. Every reputable inspector carries it. Ask for the policy number or a certificate of currency. If they hesitate, walk away.
Ask for a sample report. A good inspector will share one. The structure tells you a lot: clear photos, plain-English explanations, severity ratings, and a clear scope and limitations section. A 200-page report full of jargon and disclaimers isn't a better report, it's a more defensive one.
Read recent Google reviews. Ignore the five-star ones from 2018. Look for recent, specific reviews that describe what the buyer found valuable. Inspectors who consistently get praised for "explaining things clearly" or "spending time with us on the day" tend to be the ones worth booking.
Ask whether they walk through with the buyer. Most do. If yours doesn't, it's a flag. The walk-through is where you learn most.
Ask whether they specialise in pre-purchase or in defect investigation. Both are valid, but they are different jobs. A pre-purchase inspector is fast, thorough, and focused on the standard. A defect investigator is slower and goes deeper but typically costs more. For a normal pre-purchase, you want the first kind.
Avoid: builders moonlighting as inspectors, generalists who also do strata reports, anyone quoting under $300 for a full property, and any inspector who tells you they can do the report from photos sent by the agent.
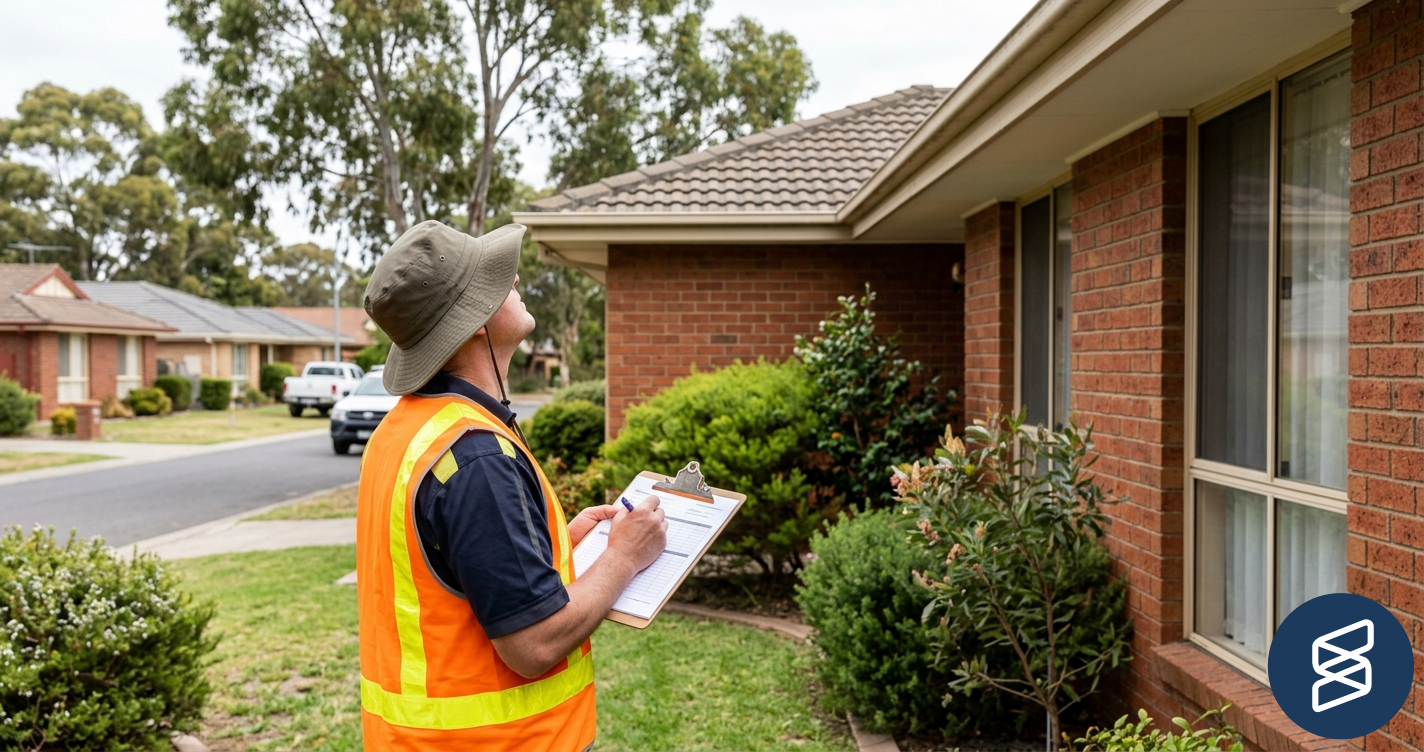
What happens on the day
A typical pre-purchase building inspection runs to a fairly predictable script.
The inspector arrives at the property at the agreed time. The agent (or vendor) lets them in. The inspector walks the exterior first, photographing the roofline, walls, foundations, fences, and any outbuildings. They climb onto the roof if it's safe and dry, and into the roof cavity through the manhole if there's safe access. They go under the house through the subfloor access if there is one and if it's accessible.
Inside, they walk every room, looking at ceilings, walls, floors, doors, windows, and fixtures. They check skirting boards, cornices, joinery, and anything visible. They run their hands across surfaces feeling for damp. They open and close doors and windows. They flush toilets and run taps to check basic plumbing function (without testing pressure or compliance). They photograph anything they intend to flag.
Outside again, they assess the driveway, paths, drainage, retaining walls, decks, pergolas, and any pool surrounds (without certifying compliance).
The whole job takes 2 to 3 hours for an average house, longer for larger or more complex properties. They will not move furniture, lift floor coverings, or cut into walls. That's the standard talking, not laziness, the inspection is meant to be non-destructive.
If you've arranged to attend, arrive about 30 minutes before they're due to finish. By then they've done the bulk of the work and can walk you around the property pointing out what they're going to flag. You get the verbal version of the report on site, then the written version a day or two later.
What you should ask before and after
Before you book, ask the inspector:
- Does the quote include a written report following AS 4349.1?
- How long will I wait for the report?
- Can I attend?
- Are pest, electrical, plumbing, asbestos, and pool compliance included or excluded?
- Do you carry professional indemnity insurance? May I see a certificate of currency?
After the inspection (or while walking through with them):
- What were the most significant findings?
- Are any of them safety issues?
- Are any classified as "major defects" under the standard? See our explainer on what major defect actually means.
- Are there any areas you weren't able to access, and what should I do about them?
- Did anything trigger a "further investigation recommended" note? See our guide to further investigation recommendations for what those mean and how to act on them.
- In your view, is this property in average, better, or worse condition than typical for its age and type in this area?
That last question is the one buyers most often forget to ask. A list of defects without context is hard to act on. Knowing whether the property is broadly normal, slightly worse than normal, or unusually problematic for its age is the real signal.
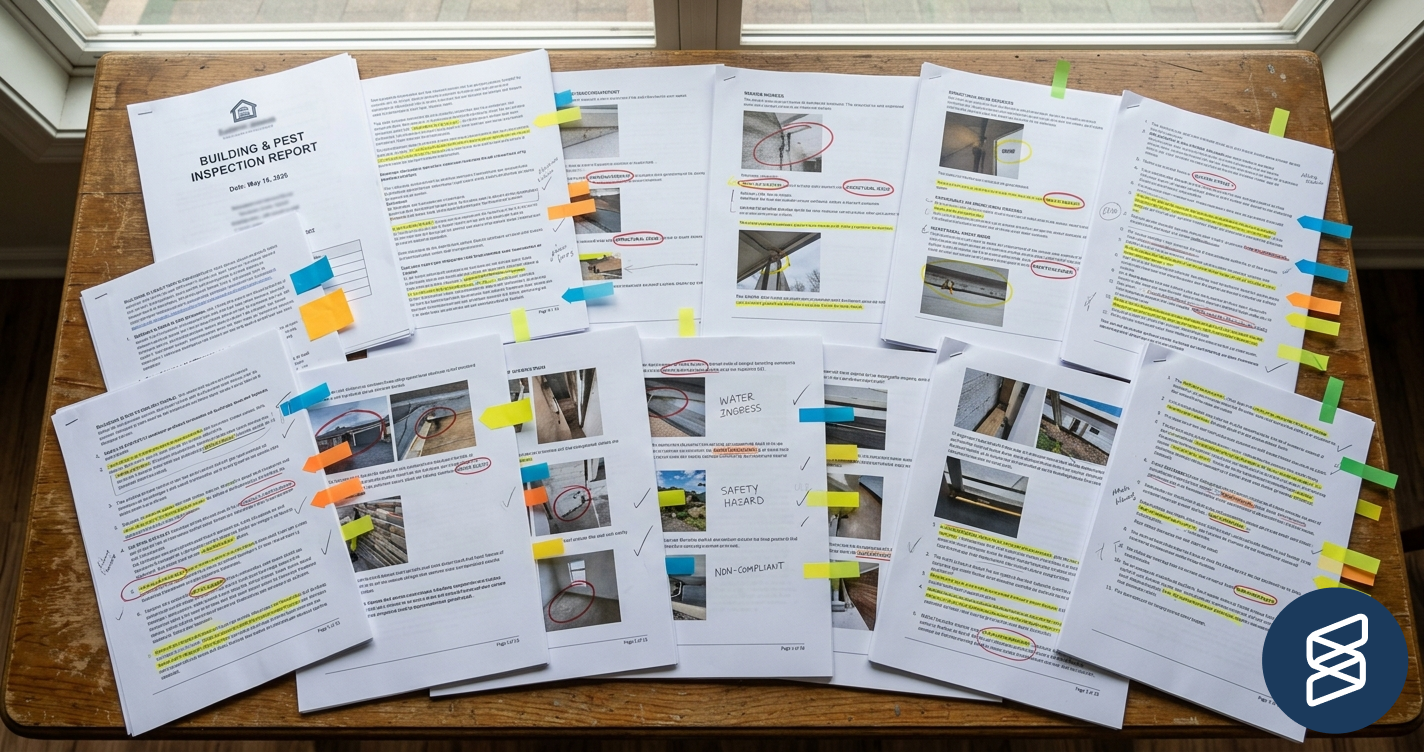
What the report should look like
A good pre-purchase building inspection report is a working document, not a wall of disclaimers. Expect:
- A clear summary of the property and the inspection
- A scope and limitations section listing what was and wasn't accessed and why
- Findings grouped by severity (major defects, minor defects, items requiring further investigation)
- Photos of every flagged item with captions
- A summary of safety issues
- An overall condition statement compared to similar properties
Reports vary in length from 30 to 100+ pages depending on inspector and property complexity. Length is not quality. A focused 40-page report that tells you exactly what's wrong is more useful than a 100-page report padded with stock content.
For a deeper walk through what each section means and how to read one, see our guide to reading a building inspection report.
Common first-home-buyer mistakes
These come up over and over again.
Booking the cheapest inspector. A $300 inspection on a $1.2 million purchase is a false economy. The fee differential between the cheapest and the best is rarely more than $200. The quality differential is often the difference between catching a $20,000 problem and missing it.
Not attending. You learn more in 30 minutes walking with the inspector than in two reads of the report. If your work makes attendance impossible, ask for a 15-minute phone call after they finish on site.
Not reading the limitations section. This is the most important part of the report and it's the most commonly skipped. If the inspector noted that the roof, the subfloor, or the south side of the house wasn't accessed, those are gaps the report can't help you with. Commission a follow-up before settlement, not after.
Reading findings in isolation. A finding is not a verdict. A "moderate" item on a forty-year-old weatherboard is part of the property's age, not a deal-breaker. A "minor" item on a brand-new build is unusual and worth chasing. Context turns findings into decisions.
Treating the report as the answer. The report is the start of a conversation, not the end. The questions it raises (what does this cost to fix? is this a deal-breaker? can I negotiate on it?) are still yours to answer.
Leaving negotiation too late. Building and pest condition deadlines are real. If your deadline is Friday and you haven't engaged a specialist by Wednesday, you've run out of time to do anything useful with the report. Start follow-ups the day the report lands.
What to do with the findings
You'll get the report and feel one of three things: relieved, alarmed, or confused. All three are normal.
Relieved. No major defects, a few minor items, the property is roughly what you expected. Proceed to settlement and add the minor items to your post-settlement maintenance list.
Alarmed. Major defects, safety issues, multiple "further investigation" items. You have options. The most common is to negotiate. Specialist quotes for the genuine major items, a formal letter from your conveyancer to the vendor's solicitor, and a request for either rectification before settlement, a price reduction, or a credit at settlement. Our guide to negotiating after a building inspection walks through exactly how that works in each state.
Confused. This is the most common reaction and the one buyers least like to admit. Reports are written in inspector language, not buyer language. If you're sitting at 10pm reading "evidence of efflorescence at the southern elevation suggesting prior moisture ingress" and wondering whether that means the house is falling down, you're in good company. Translation is a real problem and it's why services like Snagger exist. See how that translation looks on a real report.
State by state differences
The mechanics vary slightly by state.
New South Wales. Inspection is typically done before exchange. There's no statutory cooling-off after exchange other than a five-business-day window, and most contracts don't include a building and pest condition by default. Get the report before you sign.
Victoria. Cooling-off is three business days on private sales (not auctions). Building and pest conditions can be added to the contract. Section 32 vendor statements must disclose known issues, which sometimes makes the inspector's job easier.
Queensland. Standard contracts often include a building and pest condition with a 7 to 14 day window. The condition gives you a clear right to terminate or negotiate based on the report. Queensland is the most pest-active state on the eastern seaboard, so a combined inspection is essential.
Western Australia. Building and pest conditions are less standardised in contracts. Ask your conveyancer to include one before you sign. Termite risk is high in many parts of WA.
South Australia. Cooling-off is two business days on most contracts. Building and pest conditions are common. Standard timelines apply.
ACT. Pre-purchase inspection reports are sometimes commissioned by the vendor and made available to all buyers. Where this happens, you can rely on the vendor's report, but it's still worth having your own inspector review it before you commit.
Tasmania and NT. Smaller markets with less standardised practice. Talk to your conveyancer early about what your specific contract allows.
In every state, the contract is the document that defines your rights. Your conveyancer reads it, identifies your rights, and advises on what's available. The inspection report gives you the evidence to use those rights.
A pre-settlement note
Even after the inspection and the negotiation, the property isn't yours yet. The pre-settlement walk-through, usually done in the week before settlement, is your last chance to confirm the property is in the same condition as when you inspected it, that any agreed rectification work has been completed, and that nothing has been removed that shouldn't have been. We've put together a pre-settlement inspection checklist that covers exactly what to look for.
The pre-purchase inspection is the start. The pre-settlement walk-through is the end. Between the two, the report is your working document.
Got a building inspection report you need to make sense of?
Upload your Australian building or pest inspection report and get every finding explained in plain English, sorted by severity, with negotiation leverage and follow-up actions clearly flagged.
Upload your reportSnagger is a comprehension aid only. This article is general information and does not constitute professional building, legal, or financial advice. Always consult a licensed building inspector, conveyancer, or other qualified professional before making any purchasing decision.
More articles

Should I get a building inspection before buying at auction in Australia?
Auctions in Australia are unconditional. Here's why a pre-auction building inspection matters, how to arrange one, and what to do if it finds problems.
First home buyer checklist Australia: from pre-approval to settlement
The full first home buyer journey, broken into stages with tickable checkboxes. From saving a deposit to settlement day, everything you need in order.
How many defects is too many in a building inspection?
Your building inspection report has 20 findings and you're wondering if it's a walk-away report. Here's how to sort signal from noise when the list is long.